Wednesday 10 July 2013

July - Apple Tree Orchard

The apple trees are normally beginning to sprout apples at this time of year, so how better to teach little ones about this process than making their very own apple tree and if you have enough apple trees you can make an orchard! This crafty toddler activity does take more prep time than usual - say 20 mins but the result is great.

The beginnings of our apple tree orchard
Here are the things that you will need to make your apple trees:
/ A4 paper, cut out to look like a round, puffy cloud
/ Green paint
/ Green, pink and red tissue paper torn in to squares
/ Glitter
/ PVA glue
/ Card board strips (about 10-15cm long by 5cm wide)
/ Scissors

Apple tree prep kit
Follow these steps to make your crafty toddler apple trees:
1/ Mix some PVA glue in with the green paint then paint the paper
2/ Whilst the paint is still wet, adorn with glitter and pieces of craft paper. roll up the pink/red pieces of craft paper
3/ Leave to dry

Top Tip: Some of our trees got a bit scrunched up as they were drying but this turned out to be to their benefit as they look more authentic when you put them on their trunks

4/ Fold the strip of card in half then, on the bend, use a scissors to make a cut about 2cm long
5/ Once the tree top is dry slot it in to the cut on the tree trunk and gently stand it up.


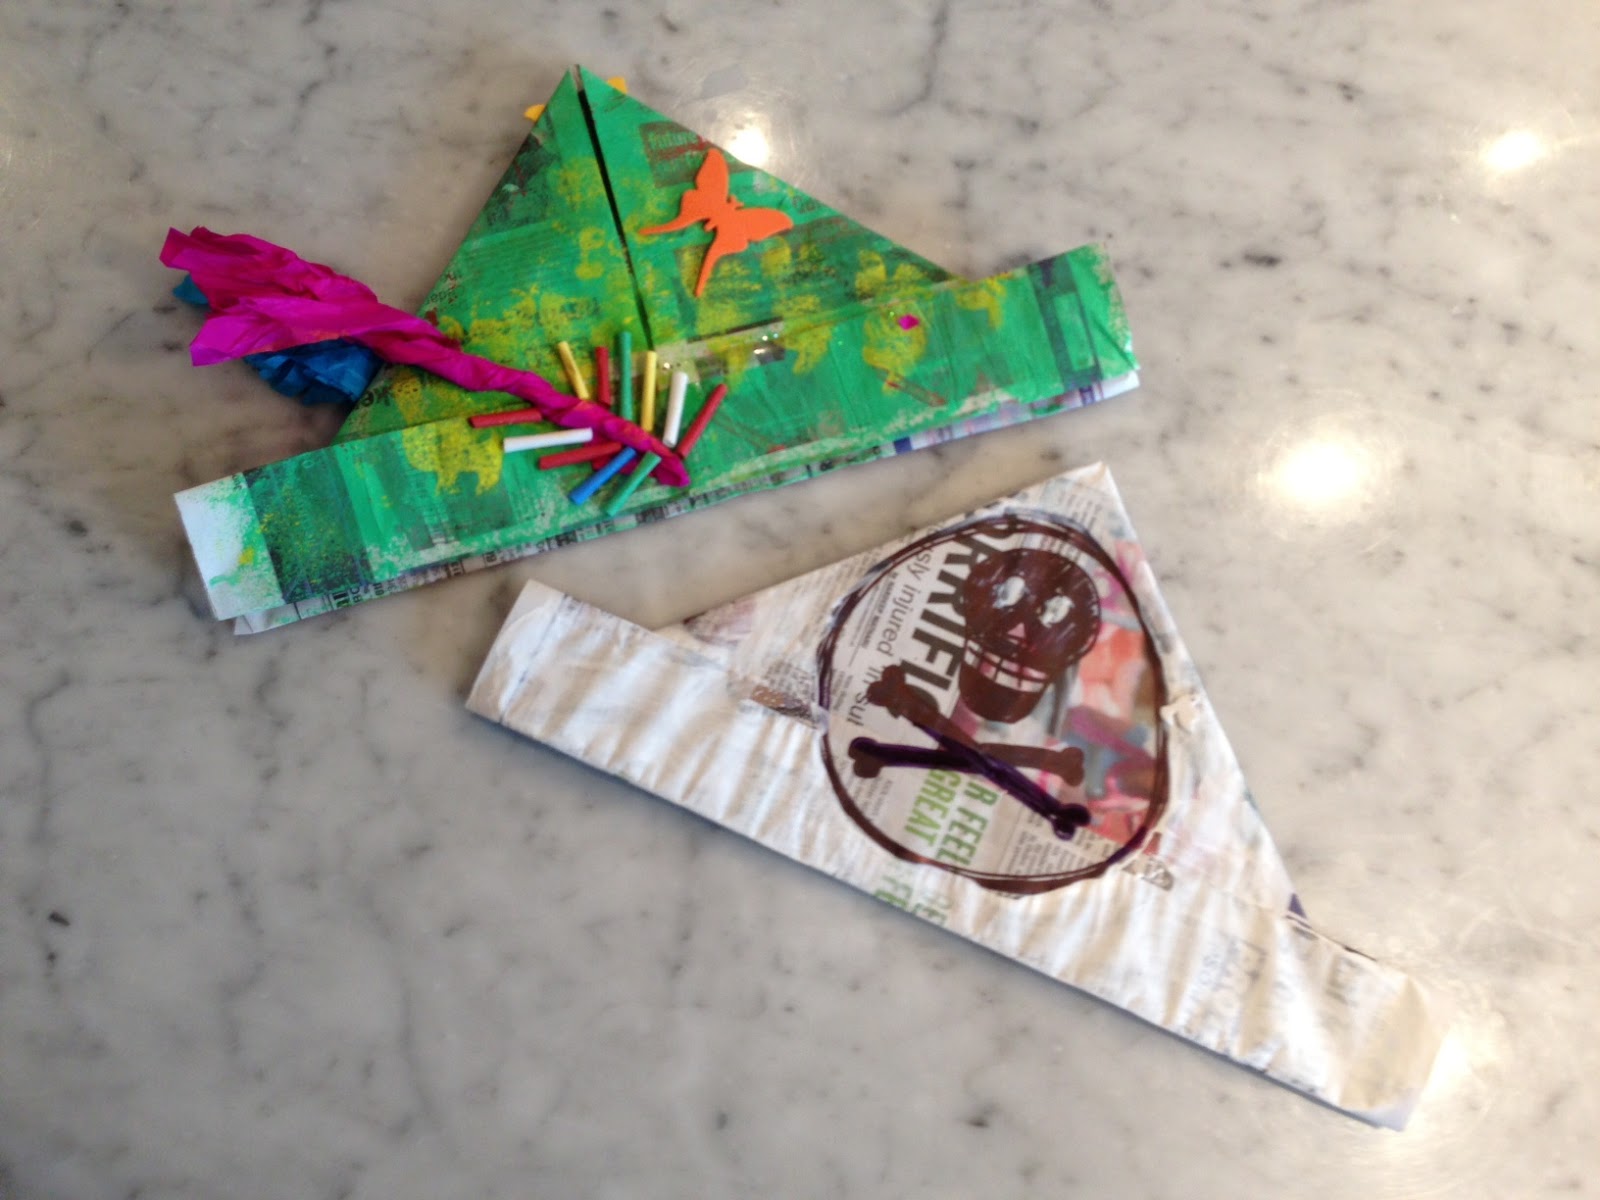
Our apple trees in progress
A scrunched up apple tree
The apple tree orchard

Tuesday 9 July 2013

Little Stars Toddler Group, Ashtead, Surrey

For those of you that might be interested in joining our toddler group, this is what it looks like. It is run by mums for mums. We have loads of nice toys, soft toys for little ones, arts & crafts (obviously), singing and dancing, juice and biscuits, tea and coffee. Lovely!

Little Stars Toddler Group, Ashtead, Surrey

July - The Watering Hole

Hopefully the summer will be upon us soon and we'll all be dreaming of our own personal oasis, right? I thought that creating this colour and stick watering hole was a fun and very simple piece of craft for toddlers.

The watering hole
Here are the things that you will need to create your watering hole:
/ A4 paper
/ Crayons
/ Safari animals and butterfly / dragonfly stickers
/ Black felt top pen

Follow these simple steps to make your watering hole:
1/ Draw an arid scene / background on the A4 paper, we took inspiration from the South Africa, make sure there is a water feature!
2/ Your crafty toddler can then colour in the scene as they wish
3/ Help your crafty toddler to stick on the animals and insects!

Wednesday 3 July 2013

June - Newspaper Hats

Making these newspaper hats is great fun as they are super cheap to make and can be decorated in many different ways...


Here are the things that you need to create your newspaper hats:
/ News paper sheets
/ Paints and sponges
/ Glitter
/ Felt tip pen
/ Sequins
/ Craft paper


Follow these steps to make your newspaper hats: 
1/ Position your newspaper in landscape in front of you, fold to mark the centre, fold in the top corners to meet the centre fold, fold the bottom up where the two corners meet, secure with cellotape
2/ Draw on any characters, our Piratr scull and cross bones was a hit
3/ Sponge on the paint (brushes tend to leave too much paint on the paper, making it sag)
4/ Decorate with glitter and feathers etc

Top Tip: roll up some of the craft paper, chop one side with a scissors and you have a feather!

These hats can be made to fit adults too so get involved and have fun!


June - Mixed UP Monsters

These Mixed UP Monsters are such a simple piece of craft for toddlers but the result looks striking.


Here is a list of things that you will need to make your Mixed UP Monsters:
/ Brightly coloured paints, watered down
/ Art straws
/ A4 paper
/ Boggollie eyes
/ Black felt tip pen
/ Glitter
Prep kit for Mixed UP Monsters
Follow these simple steps to make your Mixed UP Monster with your crafty toddler
1/ Pour two blobs of paint next to each other on the paper

Top Tip:  The paint blobs should be about the size of a 10p piece

2/ Use the straw to blow the paint around the paper, creating all sorts of odd shapes and colour mixes

Top Tip: If your toddler wants to suck the paint up the straw then ditch the straw and instead get them to lift the paper up so the paint runs and mixes

3/ Sprinkle glitter if desired whilst the paint is wet
4/ Leave to dry
5/ Stick on boggolie eyes

Top Tip: Using the felt tip pen draw on unique features such as horns, wings, bow tie, brief case, teeth etc.

How much fun was that!!!!

Here are some of the Mixed UP Monsters that we created at toddler group:

Purple Monster

Splodge monster

Dribble monster

Folded monster

Furry monster

Butterfly monster
Our monster family