Showing posts with label Craft. Show all posts

Wednesday, 3 July 2013

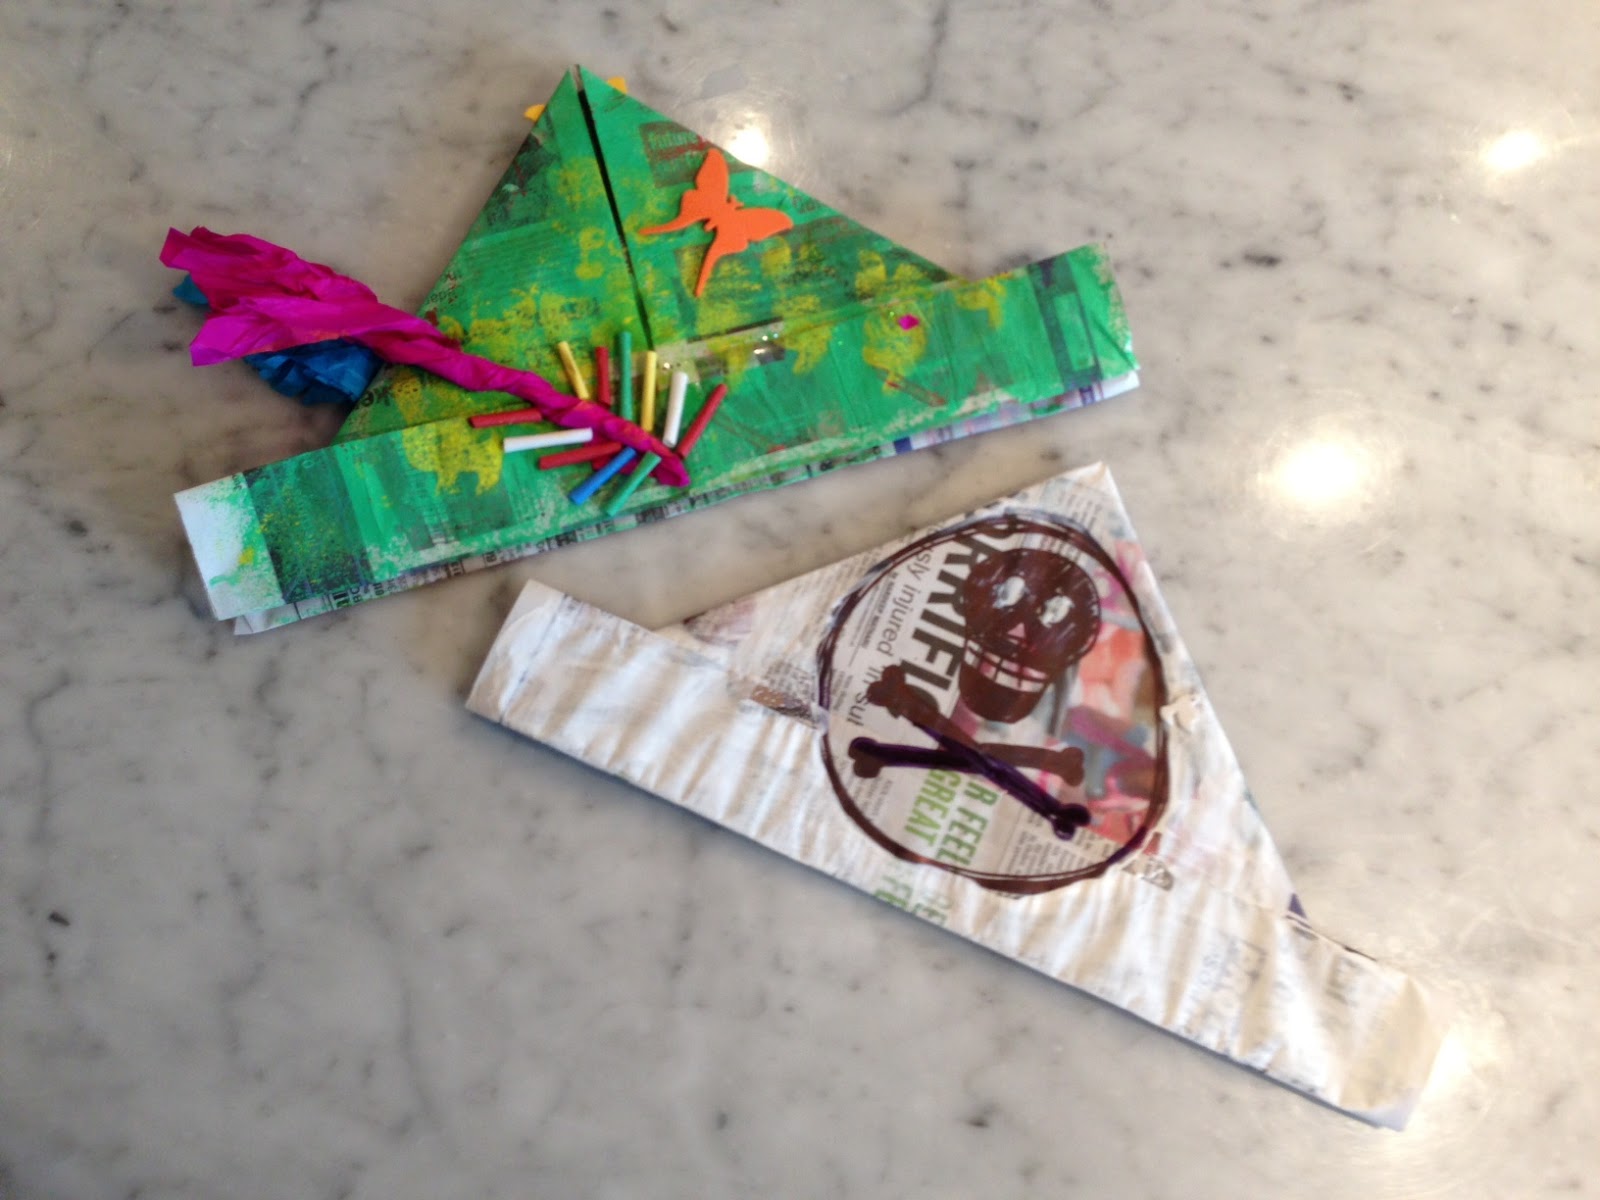
June - Newspaper Hats

Making these newspaper hats is great fun as they are super cheap to make and can be decorated in many different ways...


Here are the things that you need to create your newspaper hats:
/ News paper sheets
/ Paints and sponges
/ Glitter
/ Felt tip pen
/ Sequins
/ Craft paper


Follow these steps to make your newspaper hats: 
1/ Position your newspaper in landscape in front of you, fold to mark the centre, fold in the top corners to meet the centre fold, fold the bottom up where the two corners meet, secure with cellotape
2/ Draw on any characters, our Piratr scull and cross bones was a hit
3/ Sponge on the paint (brushes tend to leave too much paint on the paper, making it sag)
4/ Decorate with glitter and feathers etc

Top Tip: roll up some of the craft paper, chop one side with a scissors and you have a feather!

These hats can be made to fit adults too so get involved and have fun!


Friday, 21 June 2013

Air your Art

Here is a nice, cheap way to display your crafty toddler art. All you need are some dolly pegs, washing line and some 3m command hooks. And voila a lovely art washing line! 

Air your art - simple and cheap crafty toddler art display

Saturday, 1 June 2013

May - Mr Rollie Heads

This is a very fun piece of craft to do with your toddlers and creating Mr Rollie Head in all different colours and expressions went down a treat too. The prep time is minimal but does require you to have stored up some toilet roll iners.

Mr Rollie Head - Bring him to life using your fingers as arms

The things you will need to create your Mr Rollie Heads are:
Toilet roll inners
Paints
Glitter
PVA glue
Pom poms
Sheets of coloured tissue
Boggling eyes OR white circle stickers
Felt tip pen
Here are the things that you need to create your Mr Rollie Head
Follow these steps to make your Mr Rollie Head:
1/ Add some PVA glue to your paints so that the glitter will stick to the paint without needing another layer of glue
2/ Paint the toilet roll inner
3/ Add glitter and sequins then leave to dry
4/ Once dry, stick on the boggling eyes or white stickers and draw on pupils with the felt tip pen

Top tip - draw on eyelashes or eyebrows or draw different shaped pupils to create a character

5/ Stick on a pom pom for the nose
6/ Draw on a smilie mouth

Top tip - draw on teeth or a tongue to create a character

7/ Take a sheet of coloured tissue and glue in in to the top of the toilet roll to give Mr Rollie Head some hair!
Mr Rollie Head - The finished product

Our family of Mr Rollie Heads

Monday, 1 April 2013

March (week 11) - Easter bonnet

A really cute Easter bonnet to make with your craft toddlers. My craft toddler made this at his nursery but I thought it was such a simple and good idea that it was worth a post.

Easter bonnet


March (week 10) - Easter Egg Dish

Easter Egg Dishes are easy to make and can be used for decorating the house around the Easter period - we used our for holding our Easter egg stash! Preparation time is zero apart from getting all the materials ready.

The finished article - Easter egg dish
Things you'll need to make your Easter egg dish:
/ Paper plate
/ Paints and brushes
/ PVA glue
/ Glitter
/ Easter confetti shapes
/ Felt tip pen
Our demo Easter egg dish
Here is how to make your Easter egg dish:
/ Draw a large egg shape in the middle of the paper plate with the felt tip pen and write your message(s) around the sides of the plate.
/ Draw wavy lines, circles, stripes, triangles within the egg shape.
/ Get painting! I added some PVA glue to the paint so that the glitter and confetti shapes stuck to the paint rather than needing to glue over the paint later.
/ Add your glitter and confetti shapes and leave to dry!

All of our Easter egg dishes
Confetti-tastic Easter egg dish!
Glitter-tastic Easter egg dish!
Arty Easter egg dish
Spring colours Easter egg dish
Top tip:  I bought our Easter confetti shapes from Craft Crocodiles online shop.